Create this fun sensory bin with your kids. A sensory bin is a container filled with objects that have different sounds and textures for children to play with and explore. The purpose of a sensory bin is to help kids develop an understanding of textures and feelings in a stimulating, safe way.
Sensory bins are often filled with sand, slime, beans or rice as a base with other objects mixed in. Sensory bins are recommended for children who are 3 years and older—even adults can enjoy them!
Playing with sensory bins benefits children in many ways. It relieves stress, encourages creativity, improves fine motor skills and helps children develop descriptive language.
How do I use a sensory bin?
You and your child can use a sensory bin by moving around the objects inside with your hands or a small tool, like a spoon. Talk to your children about what they’re feeling, seeing and hearing. Does this feel soft, squishy or fuzzy? Does it sound like rain? What color is this? Engage them when playing actively with the bin, but remember to let them explore it on their own, too.
How do I make a sensory bin?
What you need to make your sensory bin will depend on your child’s individual tastes, but you can make a sensory bin using only household objects. The contents of a sensory bin may also vary by theme. For example, some sensory bins have a sports theme, a bird theme or a fairy theme. The choice depends on what you and your child like.
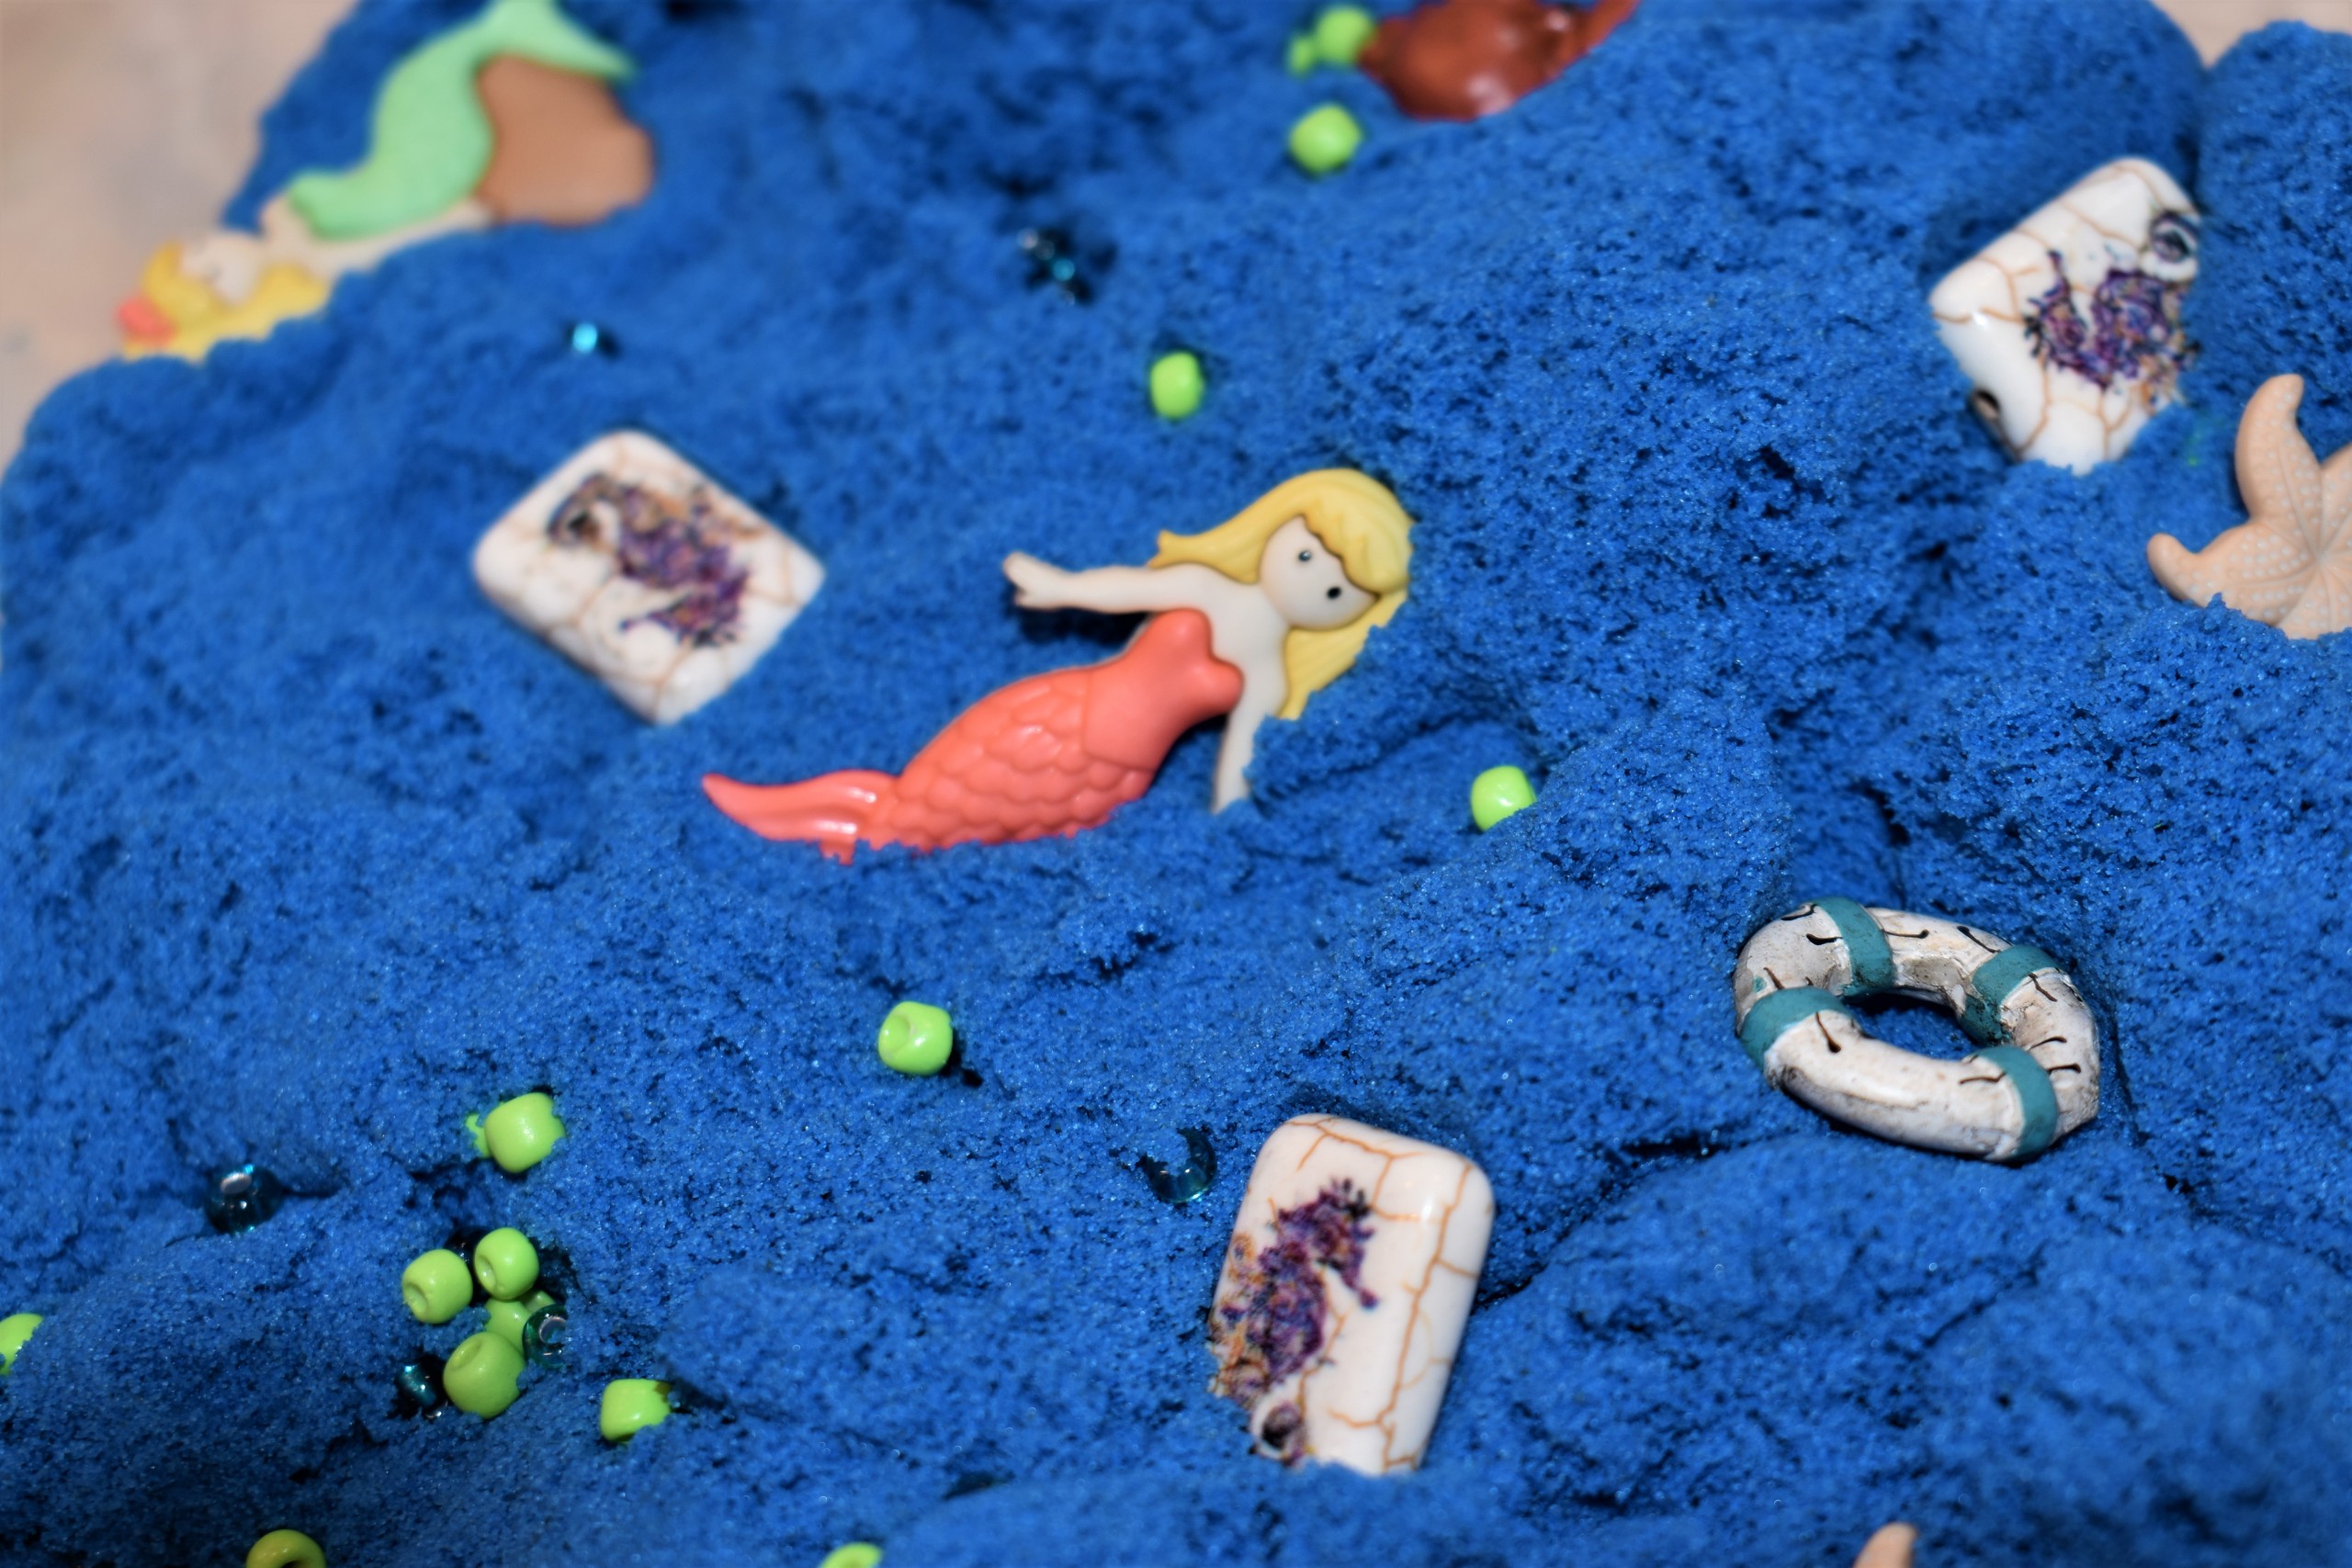
Involve your child in making the sensory bin, and explain each piece as you’re putting it together. For our example, we chose kinetic sand as a base, with buttons, beads and small scrapbooking ornaments as filler.
Materials:
• A container (plastic with a tight-fitting lid is best)
• A base (beans, rice, sand or slime work well)
• Tactile items (cotton balls, pompoms, buttons, beads or erasers)
• Optional: Stickers to decorate the outside of the bin
Directions:
Step 1: Clear an open and brightly lit area like a kitchen table or island. Place all your items in one spot on the surface.
Tip: If you anticipate having leftover small pieces, get some Tupperware or other small containers ready to keep any mess contained.
Step 2: Pour your filler into the container you picked out for your sensory bin. Spread the filler evenly with your hands or a spoon.
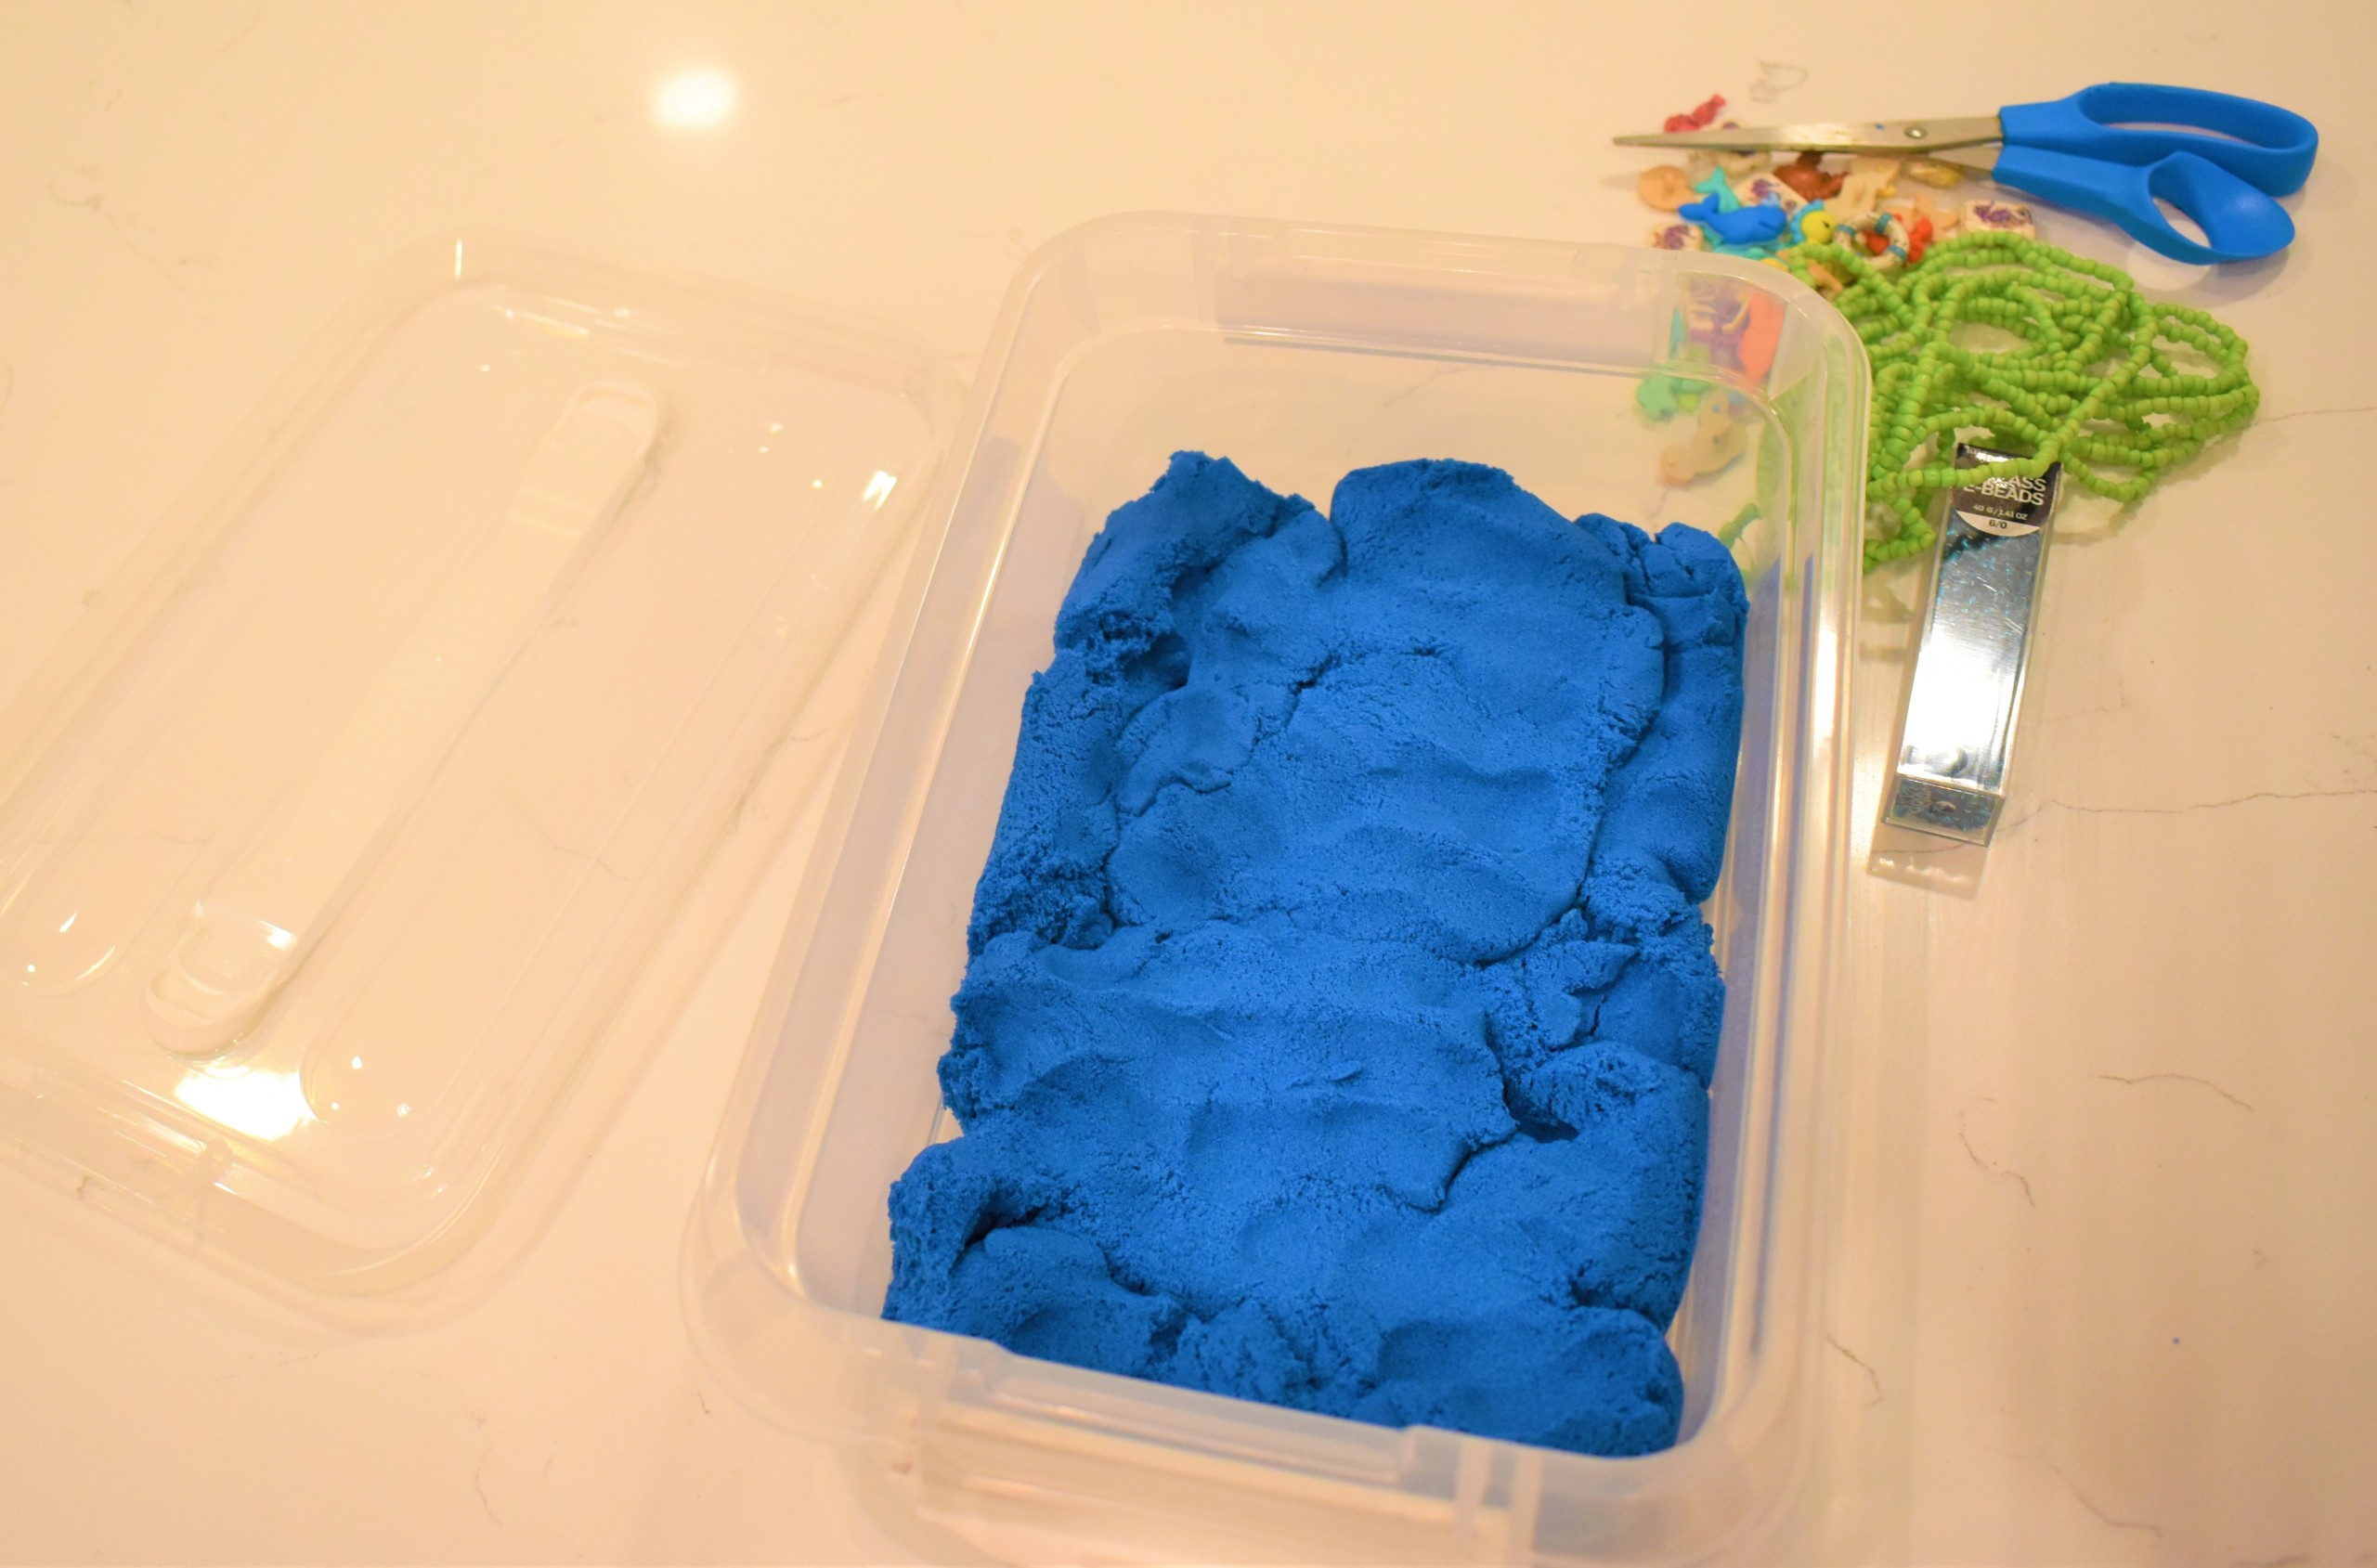
Step 3: Place your tactile items in one type at a time. Talk about what they feel like as you’re putting them in.
Tip: For older children, you can add small seashells or dried starfish.
Step 4: Mix your bin thoroughly. Using your hands or a spoon slowly mix the sensory bin until there are no clumps of any one type of item. Some items should be buried and only visible from the sides; others may be poking out at the surface.
Step 5: (Optional) After placing the lid on the bin, allow your children to decorate the outside of the bin as they please with stickers! Stickers add a personal touch and will give your child a sense of ownership over the project.
Tip: Young children should always be supervised when using a sensory bin with small pieces as these items can be a choking hazard.
When your child is done playing with the sensory bin, simply fit the lid on tightly and place it in a secure but visible spot for future play.


